Hello Crafty
peeps…
Welcome to
my page and today I share with you my DT post for Anything But A card where the
theme this month is “Anything Goes” and that’s undoubtedly the favorite
for many. So get your crafty stuff out and hope to see you all play along.
As always, I
have an upcyled, altered project in my favorite vintage theme.

Before I
start to show you what it is , I want to know what is that one thing you can’t
do without when you are travelling? For me, I need that little trinket/vanity
box that can house all my accessories! I love to take a few complimenting sets
of neck piece, earrings, bracelet and my watch! I love playing the mix n match
game with these!
I decided to
make one that is compact and durable to carry these. Here’s a biscotti box that
underwent a cosmetic change

to become
THIS…

I wanted to
replicate one of those antique, old, vintage hand me down treasures from
grandma type of a box! This box was originally a glossy grey one which of
course, I was going to change but I liked was the inside. It had these cute
little compartments which was perfect for this project.
Step 1 – I was clear I wanted the paper
from Ideology “lost and found” paper pack and also took complimenting fresco
colors from paper Artsy.
After a coat
of gesso, I went about sponging the colors in layers till I liked what I saw. I
had a lovely, grungy wooden like box and I was already beginning to love the
texture the sponge had created. I have used Chutney and Tikka from paper artsy
to get this lovely color!

Step 2- Once the colors dried, I took
damask stencil from TCW and some Wendy Vecchi embossing paste and covered the
top of the lid. I wish I had used gold embossing paste, but never the less,
once it dried I placed the stencil again and rubbed Inka Gold. I wanted a subtle
highlight of gold and so used old gold here. I like the way it blends with the
woody colors. Next I took out some metallic black acrylic colors and created
random polka dots all over the box. This gave the feminine look to the box.

Step 3- I have used the 4 X 4 paper from the
pack and was happy it just fit the base. Before adhering the pages, I stuck
some black lace in random spots and then created tears in the PP…the antique,
worn out look you see! Some ore Inka gold in the crevices and then I inked all
the edges with Archival black ink and Potting soil to really age the box and
the paper.

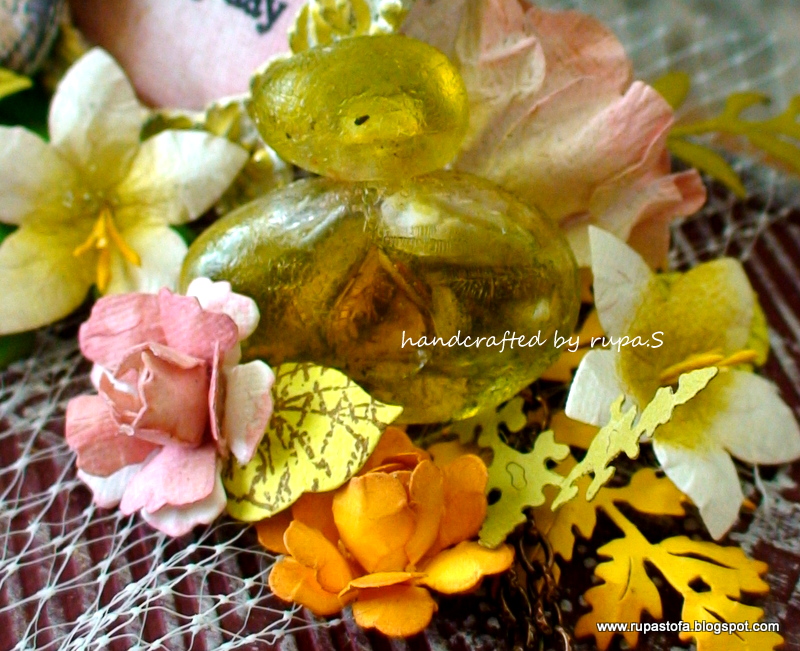
Step 4- For the embellishments I made a
layered TH tattered florals flower with black CS and heat embossed the edges
with gold . The Sizzix flousih die cut too is from black CG and has some gold
highlights.

I created the same wood like strip on black CS and heat embossed TH
Artistry sentiment in black. I have distressed the edges and ripped it too. The
ornate metal pull out too has been aged with old gold highlights.

A few coconut
shell buttons with gold run ons adorns the front the box.

Ready to
open my grandma’s treasure???
Here it is…
Step5- I have kept the same colors scheme
here too but have stenciled the damask here with archival black. You can see
the gold highlights here too.

I decided to keep some grandmas memoralia
here…and so this pic from the photo booth crumpled to get the aged look. Along
with that I have pinned some tickets and a small post card stamped with Itsy
Bitsy stamp on coffee stained paper. The black border is a memory box die.
Family ties it is…as I told you, I wanted this to look like one of grandma’s
treasured box!

Step 6- I sponged the same colors on the
compartments and rubbed in Inka gold. The little boxes are covered with some
marbled wrapping paper . I liked what I saw finally and here it is with all
little thinks I cant do without when I am travelling.
This is
going to my travel companion in future and I will always treasure this antique
piece from Grandma. Lol!

Do let me
know your views and thank you stopping by today. I hope this inspires you to
play along.
I would like enter my grandma’s box in the
following challenges…
A VintageJourney – Destinations
Stamps and stencils -happy holidays
art by miran Ch blog -Ag
Craft Stamper magazine- Ag use a stamp
Polkadoodles ch blog- add some embossing
Crafting by Designs - re use/Re cycle
STAMPlorations Ch blog- Mixed media but no card
art by miran Ch blog -Ag
Craft Stamper magazine- Ag use a stamp
Polkadoodles ch blog- add some embossing
Crafting by Designs - re use/Re cycle
STAMPlorations Ch blog- Mixed media but no card
Until my
next Creative journey,
Happy
Crafting and Re cycling,
Hugs.