Thursday 25 February 2016

The "Quilted " duo

Hello crafty friends..
Welcome to my page today. I am right now working on my house interiors after the painting and going about giving some crafty touches to them!
As always I decided to give some cosmetic touches to the existing furniture and this time around it was the faithful shoe rack’s turn! Having been with us for over 12 years now, it was dull and boring to see this fella greet people at the entrance.
So in he enters my studio! Here is the process of the makeover....
Step 1- I removed all the hardware and gave the surface a good sanding and cleaned it up with a wet cloth. I was waiting to use the new chalky finish paints from Deco Art that I received. This time it was the cheerful” delicate” that hit the skeleton of the rack. This it was not going to be just paints...since this is at the entrance, I wanted it to be catchy and decided to quilt on it!
Step2- I love the TH Wall flower paper pack and always think twice before tearing a page and believe me, I decided to quilt with his papers! Can you imagine the number of papers I would need to quilt on a big surface like this...well there is a solution? I took a good quality photocopy of the ATC pages and my quilting started. I needed about 80 ATC’s to patch up! 
Phew...am not complaining...I inked all the edges with Archival leaf green and had them on the top of the table using the De c Art decoupage glue. Once they were dry and secure, i started sewing! Yup...used my Faber castel PIIT pens to draw the stitches on the panel and voila...my quilt was ready!
Step3- For the drawers, I cut them into stripes and for a change. I planned a 2 tone coloring this time and the wall flower paper pack was just perfect to take that! My second color here is the Deco Art”new life” chalky finish paint.
 Definitely gave a new life to my shoe rack, lol!
I mean look how vibrant it is now!
Step4-I gave a coat of Deco Art cream wax, light to the entire rack and as that was drying...worked on the handles. I gave them a coat of gesso and sponged in Deco art media acrylics, burn t umber to give it the lovely antique brown!
Now it was time to work with the dark wax. I always loved the weathered look it gives instantly to the furniture...have a look. The right side here has the dark wax and left doesn’t...too bright eh???
The handles were dry by now and found their places.
I gave a nice coat of Ultra matte varnish from Deco Art. For the quilted portion I gave at least 2 coats of varnish.
Here is one last look of it inside my studio...
And ZOOM into my house, where it sits pretty in the green corner!
Look it has a companion now...a little stool to match the rack. The same colors and same quilting from the left over pieces just made them with 2 inch squares this time!
That’s a lot of quilting for the past 2 days and no more louvered doors! 
I had a tough time painting them but seeing these cheerful fellas smile after 12 years....was worth the efforts, what say???
See you soon with another project.
Until my next creative journey,
Happy Crafting and recycling.
Cheers.
DecoArt Products used-
Chalky finish paints- Delicate and new life
Decoupage glue
Media line acrylics- burnt umber
Ultra matte varnish


Sunday 21 February 2016

Black beauties!

Hello crafty friends..
Welcome to my page today. Phew! I never knew getting a house painted after 11yrs would be a revelation! Yes, A revelation of the amount of unused stuff at home..It was kind of a mega clearance from my attic and a huge discovery of trash that had potential for a makeover!
And what great timing, I just got my next round supplies from Deco Art and waiting to start with the chalkboard paint! I liked it so much, I did not one but 2 back to back projects with it....just LOVE the matte black finish and the fact that you can write on it again and again.
My first discovery from the attic was 2 worn out wooden planks, one of which even had an incomplete painting! Perfect for my distressed project.
I wanted to have something catchy in the foyer ...that which hits the eye first when you enter home...and I even made a rough sketch before I started with this.
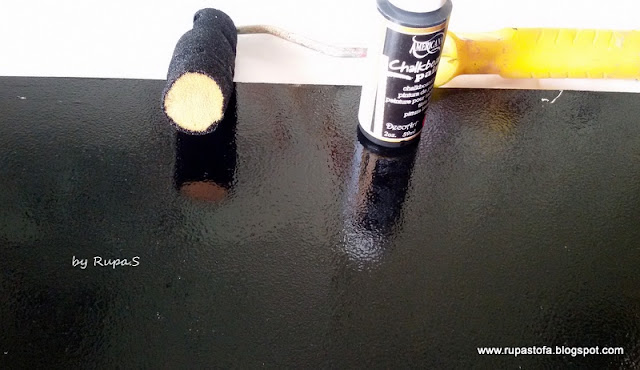
I colored the bigger panel with Americana decor chalky finish paint.. and the smaller panel was colored with  chalkboard black paint and a roller from the local hardware store!
I gave 2 coats of the black paint and when that was drying, started mu decoupage and stenciling on the bigger panel.
Lovely vintage roses hit the top of the panel and used the decoupage glue from decoart. I also used their honeycomb stencil and yellow and white acrylics for some background texture and not to miss some text stamping with Bo Bunny script and archival black ink.
On the bottom part I had the rose buds decoupaged with stenciling and stamping too.
Since it was flowers and honeycomb, I decided NOT to have butterflies but bees and dragonflies for a change! I stamped these beauties on water color paper, heat embossed them in black and colored them with my brush pens and sealed them with Distress crackle.
I adhered the black panel onto the main panel with heavy white glue and left it overnight. Next day, I drilled holes on the top and braided some white rope for the hanging. I stenciled some corner design on the black panel with white acrylics and hand wrote this lovely quote!
Just the one I want to see first when I enter home...what say???
The butterflies and the bees found their place and some filigree metal corners with rhinestone gives a vintage finish to the panel.
This is how it hangs on the green wall as you enter...
Project2- My dad collected some miniature bottles, the ones you used to get in international flights back then! I don’t think it’s there now...sad!
These were given a good wash and their labels stripped and then I started my work! 2 coats of chalk board paint and they turned into black beauties! I wanted just neutral shades here, no bright colors. You can say this is my kind of CAS!
Some natural twine wrapped here and there and I made some handmade blooms in white using TH tattered florals(smallest), CLD daisy and sunflower and had them in different spots on the bottle.
The alphabets are cut from cereal carton and text paper and inked with Tea dye DI and find their place on the mini bottle.
Just for added interest I place them on a coffee stained doily and they look beautiful, what say???
So, let me know what you think about these 2 projects and I am already thinking what else can take the black paint now...maybe a small cupboard for my daughter so she can write and practice????
DecoArt products used-
Decoupage glue
America deco art chalky finish paint- Delicate
Americana decor Chalkboard paint
Deco Art honey comb stencil
Thank you so much for stopping by today.
Linking these to the following challenges...
613 Avenue create- Anything goes,(have used column A and C)
Until my next creative journey,
Happy crafting and recycling.

Cheers.


Wednesday 17 February 2016

Grungy Suitcase

Hello crafty friends..
Welcome to my page today. I am sooo relieved and done with my house painting! It started at the beginning of the year and ended on valentine’s say....cool eh??? Great timing and so decided to make something for Mr. Hubby! A kind of “thank you” gift...no no not valentines!
As always I love masculine projects, I love recycling, I love grunge, I love browns and tan, I love metal, I love leather, and I love denim too and wait...I love wood too!
With all my “loves” in mind, here is what I recycled...
And here is what I made of it...
Lets jump start to the procedure...
Step1- I went about making some alterations to the box to suit my needs, like the opening and the closure. I wanted the leather and denim look...my fav when it comes to men, lol! (wink, wink)...
So, for the lid, I covered it with tissue and modge and when dry did the “faux leather” using DP rusty hinge, vintage photo and walnut stain and when dry, applied archival black on the raised areas( creases from the tissue) and inked the edges  with archival potting soil.
Step2- I used a few metal embellies for the corner. Stamped images of these grungy macho men on Kraft CS and heat embossed in black and gave it the leathery feel too! 
Just so to soften their looks, I have used a metal charm that says ”hand made with love” hanging from the pocket and for the other gentle men, have use heart buttons for his vest! LOVE it.... A faux leather label with a TH sentiment and faux stitching finds itself in another corner!
Step3- For the base of the box...I just ripped an old jean to my hearts content and covered the base and for the rim, I dint spare the waist band too! And what a co incidence my waist size was a perfect fit to cover the box all around! Now is that a compliment...keep guessing my waist size now...wink, wink!
I also attached metal brads as legs for the box and used metal clasp closures and a little handle so that it can be carried around too!
Time to open up the box!!! Remember, I said, I love wood....

Step 4- Voila, the box opens up....and you see a mini suit case inside!
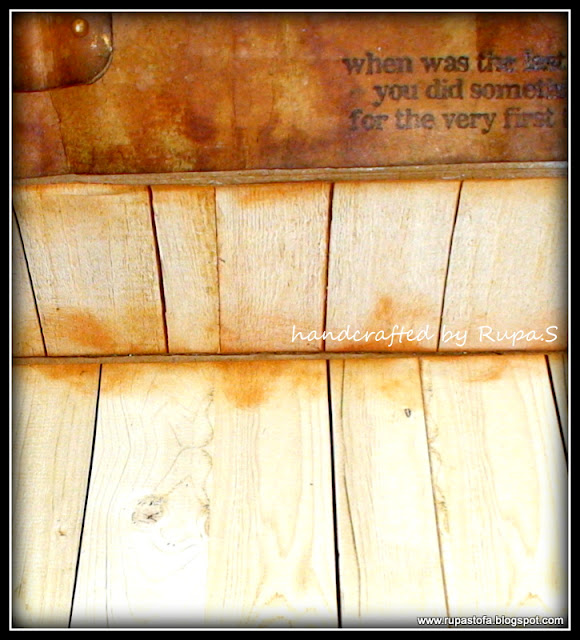
 I have lined the inside base with wood grains paper from our very own Indian brand, Papericious. I love the earthy macho looks it adds to the interior of the box!
For the top lid, I spent a whole day working on it! I wanted a typical functioning suitcase? Keepsake box and so continuing the faux leather created an accordion panel to stack up papers and important documents!
I also created the ribs for holding the pen/pencil and yes...a little “message” scrolled inside the bottle too!
A few motivating quotes from TH and my little suitcase is ready to travel where ever hubby dear wants to take it!
Well that’s brings to the end and I had a great time working on this project with all the “loves” of my life, lol! With so much love wrapped around, this is one sturdy box now!
I would like to enter the following challenges ...
Things to alter- AG not cute
Emerald Creek dares- Bloggers scramble
The ABC Challenge- B for box
Creative Artist- AG with mixed media
Loves 2 create- AG mixed media
Thank you so much for stopping by today.
Until my next creative journey,
Happy crafting and recycling.
Cheers.


Monday 8 February 2016

SEW much LOVE !

Hello crafty friends..
Welcome to my page today. Today’s story, “Sew much Love” started from an empty slider packaging box. I wanted to weave a story around a vintage couple and to depict that, I altered a packaging box using the “industrial” style!
I opened my brand new foil tape and was more than excited to experiment with it! More so after seeing the TH january tag! Here we go...from a plain unassuming box....
To this!
Step1- I painted black gesso to the sides of the box and the edges of the lid. Then, I adhered some dry wall tape on the sides for texture.
Next,I stuck the foil tape to a CS and ran it thru the haberdashery embossing folder. For some reason the combination of scissors, buttons, thimble and a rose in between made it so romantic and that is why I chose this one. It also had a vintage look.The dry wall tape also complimented the checkered pattern on the folder.

Step2- The scary part! I applied black acrylic paint all over the embossed foil and waited for it to dry. Then ran a wet wipe over it, removing the color in parts. This gave an amazing distressed metal look! I then cut the circular portion off the embossed piece as I had other plans!
Step 3- Time to play with alcohol inks. I had to work with yellows and greens and kept only the rose red..that gave an instant romantic look the piece! I had a pic of a vintage couple in my stash just perfect to slide thru the cut portion and Oh my! They just looked so comfortable!
Step4- I stamped the sentiment on the space available and heat embossed it n white and also managed to have a small heart shaped brad along with it. A few twisted rose buds and the lid was ready. I further embellished it with some rhinestones. One look at the couple and you can say, they were just happy in their own space!

The pull out for the box has a little key and cute heart that says it all!
Step 5- A look inside and you can see a set of cards...and a bling heart holds it all together! 
The heart too is using duct tape and used the Sizzix die for the mini heart, embossed it and colored with red ink and then rubbed in some archival black to distress it. Some rhinestones to bling it and it held on to those romantic note cards!
Step 6- I had a great time making these Kraft note cards and having some die cut negatives as embellishments.
 I inked the edges with vintage photo DI and stamped some quotes and message boxes too.
All of them put together make it a perfect “valentine gift”...sew romantic right???
Let me know your comments on these. 
I would like to enter this in the following challenges...
OCC- sew and sew
Anything But cute- grungy Love
Peek-a-boo designs- Tic tac toe ( dry embossing, silver, flowers and flowers, ribbon, red)
A Vintage Journey- Industrial Love
Brown Sugar Challenge- Valentine/ Love
Creative Moments- AG with a twist of Romance/Love
Crafting for all seasons- Love is in the air
Until my next creative journey,
Happy crafting and recycling.
Cheers.


Thursday 4 February 2016

TIMELESS Love

Hello crafty friends..
Welcome to my page today. I am seeing some lovely colors coming up on the walls at home and that has really inspired me with the current project and also keeping in mind some lovely challenges.
Had this boring wooden wall clock for 21 yrs now (wedding gift) and I thought it was high time for makeover. 
This was going to be in the family area and keeping the colors of the room and the flavor of the season I decided to give a romantic touch to this wall clock! I was also challenged by my husband that all my home decor projects have a “feminine” look to it and so I told myself this one is NOT going to be that way! So no floral embellishments!
Step1- I removed all the working parts of the clock and kept it safely. This lovely decoupage napkin with a couple and wine is what triggered the romance actually! I started by altering the round dial. I cut a circle to size from a cereal carton and then covered it with black gesso. Once dry, I covered it with white glue and before it dried applied chalky finish "everlasting".
Look at those cracks...my fav technique for quick cracks. I love the black thru the white. I then adhered the napkin to the round base using America decor decoupage glue. Loved how the couples withstood the cracks, lol! You can see them thru....Inked the edges with fired brick DI and my altered dial was ready...no not yet. I covered the needles with black and red alcohol inks, and also had some black color splats here and there! Done.
Step 2- Now for the hexagonal wooden frame. It was a challenge to do any texture here as it has some natural grooves and the width was very less. I dint want to do decoupage and decided to have some diecuts!
Love is a lifelong affair and not just a one day fling...says me! Hence, an array of words from the Sizzix thinlits die. After adhering them, gave a coat of black gesso.
 Once dry, gave a coat of America decor chalky finish “Romance”. Love the red and then went about distressing with a mild sand paper to reveal the black beneath and also some dry brushing of black in spots. 
When this dried, I took some black gesso in my fingers and rubbed it on the die cuts to highlight them. Sealed it with a coat of matte finish varnish.
Step 3- I wanted a change from the regular clock and decided to give some faux pendulum to it. I die cut the hearts using cereal box carton and TH alterations die! Those twins are adorable. I wanted to give a faux distressed metal look. Ran it thru my new sizzix embossing folder and colored with black gesso and then chalky red. Once dry, applied the archival black ink directly on the raised pattern and also inked the edges with the same. Some splats with brushed pewter DS and my metal hearts were ready to dangle. 
The antique metal chain gave the authentic pendulum look!
Pretty simple steps and I managed to give a new look to the clock except that I cannot decide where to hang it... on the blue wall or the white wall.
What is your choice???
 Thank you so much for stopping by and makes me really happy to read what you have to say about this romantic clock.
I would like to enter the following challenges too...
Lulupu – Heart and arrows ( the heart is obvious and the arrow... have a quick look at the needles!)
Eclectic Ellapu – Pink team, Love
Scrapki wyzwaniowo- Masculine project
LTSCB- have a heart
TIOT- A fine romance
Frilly and Funkie- enjoy your embossing

Deco Art products used-
Americana decor black gesso
Chalky finish paint Romance,Everlasting
Decoupage glue
Matte varnish
Until my next creative journey,
Happy crafting and recycling.
Cheers.