Showing posts with label dry embossing. Show all posts

Sunday, 9 August 2015

"CELEBRATE" with colors

Hello Crafty peeps…
Welcoming you to my page today with mixed emotions. Today marks the 50th challenge at Anything But A card…yeah, that’s good news but then it also happens to be the last…so we decided to celebrate in style. That’s it, the theme this month is “Celebration” and do what your creative soul prompts you to except no cards!
Join in the celebration here and see what the Dt’s have to show you and looking forward to seeing all of you play one last time.
I decided to play with colors this time and that too metallics…am loving bright colors these days..Oh my! What happened to my vintage love??? Not to worry…
I altered an empty packaging box that was lying around and made something to fit inside…well that’s the surprise!
Here is the altered box..
Step1 – I took a piece of black CS measuring the lid size and ran it thru Itsy Bitsy floral embossing folder. Then generously rubbed brushed pewter DS and rubbed with a wipe to reveal the black CS in places.
Step2 – I took out all the bright acrylics and metallic colors that I had and started building up layers, wiping and applying to reveal the color beneath. Also gave dry streaks of acrylics…you can see the bright colors here.
Step3- I chose a bright orange fiber paper and covered the lid and then adhered this embossed CS on top. The flowers are made with Cheery Lynn Sun flower die on white handmade paper and spritzed some yellow metallics first and then rubbed in wild honey DI for the edges and also dry brushed some gesso to give texture. Foe the flower center I glued in some white sand and colored it with alcohol inks. I thought these two flowers complimented the embossed flowers on the CS. I had a few berries and CLD tropical leaves which completed the floral arrangement.
Step4 – The sentiment is from KaiserKraft and I love a little sentiment always peeking from all my projects. It’s as if they are trying to say something to you. I had some left over Sizzix flourish die cuts from my previous project and decided to heat emboss it in gold to add the ornamentation! The ornate button is modge mold colored with alcohol inks and then rubbed Inka gold. The corner metal plates have been antiqued with acrylics and Inka gold and finally some green crystal bling just makes you open your eyes wide! Yes…this is way too colorful…remember we are celebrating!
Step 5 – The box ix open now! What do you see…ye, a lovely had dyed seam binding in all the bright colored DI and I made a loopy bow with it. I decorated the center with some beads and baubles and some metal charms that says it all.
But WHAT IS THIS??? Any guesses….

 Step6- I made a clutch style mini album which fits perfectly inside the box. It has 4 pocket pages and spaces for small pics and spaces for journaling. I have used DCWV as proud as a Peacock, paper line. More colors…
I am glad I made this colorful project in time to give it to my cousin who visited me from London, I was meeting her after 6 years and yes, that moment had to be documented!
I hope this colorful feast prompts and inspires you to play along and do take time to participate in the “celebrations” challenge.

Thank you so much for stopping by today. I would like to have this project enter the following challenges…
That CraftPlace – AG mixed media
Inky Chicks – use metal embellishment
Frosteddesigns- metals/metallics
Until my next creative journey,
Happy Crafting and Re cycling.

Cheers.

Wednesday, 1 July 2015

Sunshine + rain equals...

Hello Crafty peeps…
Welcome to my page and today I share with you my DT project for Rhedd’s Creative Spirit where the challenge is always “Anything Goes” but mixed media or altered art only, NO cards please.
My project is another holiday inspired project. I told you I had a lot in mind after the holiday and this particular one I saw in one of the widow displays in a shop. I love window shopping and this caught my fancy in the streets of Austria!
Here is what I saw …
And here is what I made of it…..
Yes, an altered mini armoire for you today, all shabby, distressed and vintage…feels so cozy in my comfort zone! I do have a little surprise for you at the end.
I so fell in love with the maroon color and retained it in my project. I had this color CS and ran it thru my mew Darice embossing folder(quilt). I love the quilt patterns in it and then dry brushed some gesso over it to give it a distressed washed look.
 I could see everywhere that “distressed furniture” is the “in” thing right now and I am going about making miniatures at home just to convince my husband so that I could do the same to the big one’s at home too, lol! I have eyed a few pieces of furniture which I would love lay my hands on…very soon it shall be a reality!
I adhered the embossed CS for the doors and the panel on top.
Here is a closer look at the lovely embossed pattern and the white washed look.
The wooden knobs have been coated with gesso and then a layer of Black soot distress crackle paint. You can see the cracks here…
I cut out the stamp size images of the ‘found relatives” from Ideology “lost and found” paper stack and arranged them on the door pattern to give a vintage look.
For the sides I have used the colorful papers from the same stack. I love the brightness of this PP against the washed look of the embossed CS.
 The Sizzix flourishes are cut with black CG and layered to give a black metal look and I have it on the sides and on the top panel to lend an ornate look to the armoire. These have been washed with gesso too.
Coming to the embellishments on the top panel, I have flowers strewn all around in bright summer colors. I have taken the color prompt from the PP actually and made flowers using Joy crafts and TH tattered florals. They have all been inked and colored using DI.
The metal frame is an ugly enameled one that I have had for years now and was screaming for a makeover! I just gave it e coats of gesso and applied some metallic yellow paint and voila, the ugly duckling looked like a princess, lol!
The sentiment is from Inspired by Stamping and I thought it fit the project so well. Let me tell you why..
Distressed + bright PP = sunshine +rain!!!
I was never great with Math, so you can calculate to see if this is right, lol!
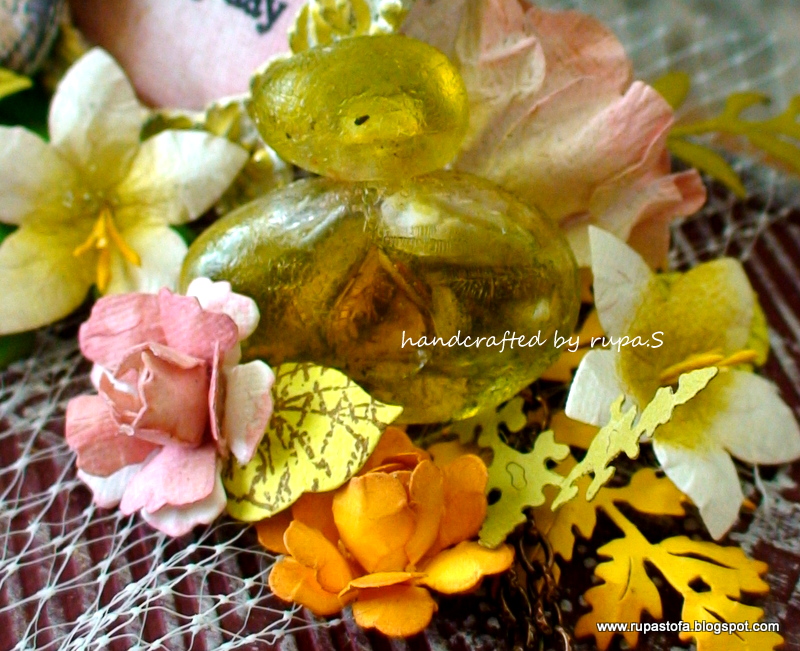
The little perfume bottle Is from my stash and I crackled and colored it with alcohol inks. Love the lime green freshness!
The wicker heart is a last minute add and I wanted hanging from the sides with a metal chain.The ideology feet adds the much needed vintage look which also has been dry brushed with gesso.
 That’s the overall all look of the exterior!
Do we proceed inside…what’s waiting???
I have continued with the same sunshine + rain formula inside too. I have a removal plank in case I decide to have the armoire to hang things later!
Right now, all my metallic paints and glitter powders sit cozy in there!


Are you ready for the little surprise? Do you want to know how this armoire started out to be…I actually dint have one and was not ready to buy a pricy one from the stores!

And so I made one with THIS….

Very soon I will get back to you with a LIFE size one that I am eyeing at home! Wish me luck.
I would love to have your valuable comments on this project. It always brings a smile and helps me grow. Now remember the formula always!

Do play along and have a peek at the lovely creations of the other DT’s here.

I would like have this mini armoire enter the following challenges…
CreativeMoments – AG with wet/dry embossing
Beyond Grey Challenges -Dimensional project
Die Cuttin Divas- AG
Crafty Sentiments - Summer
Moo -mania  - swirls
Our Creative Corner - mexico moods
Sistersofcraft - Ag
Frilly and Funkie - Something to say
Sparkles Forum Challenge Blog- Vintage/shabby chic
Until my next Creative journey,
Happy crafting and Re cycling.
Hugs.