This is my first attempt at making a layout and is special to me for more than1 reason cos I have done this for my son who is a special child.
I actaually made this during the ItsyBitsy big shot party and since it coincided with my sons bday I thougt that it would be the perfect gift for him.
As I am looking at it... I realised that the colors that I have used matches the colors mentioned by lulupu in their latest challenge and so here it goes.
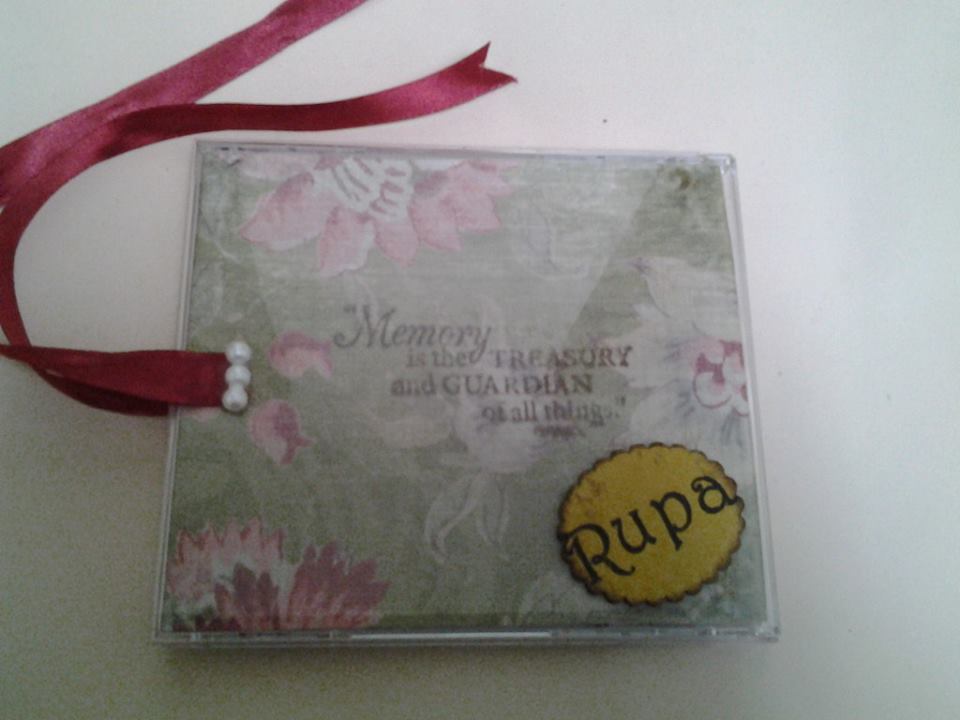
I have kept the theme very vintage, distressed and woody bcos the photograph was taken in a jungle resort. I ha e layered 3 (12x12 papers)...of which the middle one is torn by hand and distressed and the top one is also torn in a few places, curled,distressed and stamped .
The Tim holtz bird cage and the bird sits proudly in one corner as my son loves the chirping of birds! The floral embelishments also go with the woody theme with a few bursts of red and green. The blank tree embelishment is also a die cut.
I have inserted 2 message tags cut from the scalloped oval die and stamped the message box and written a personal bday note! Hope u all like it...

That's about it and I am quite happy with the way it turned out to be. This layout is entering the lulupu challenge#14 and co-incidently my son too turned 14!
http://lulupu.blogspot.in/2013/07/lulupu-challenge-14-colour-crush.html
Thanks for stopping by.
I actaually made this during the ItsyBitsy big shot party and since it coincided with my sons bday I thougt that it would be the perfect gift for him.
As I am looking at it... I realised that the colors that I have used matches the colors mentioned by lulupu in their latest challenge and so here it goes.
I have kept the theme very vintage, distressed and woody bcos the photograph was taken in a jungle resort. I ha e layered 3 (12x12 papers)...of which the middle one is torn by hand and distressed and the top one is also torn in a few places, curled,distressed and stamped .
The Tim holtz bird cage and the bird sits proudly in one corner as my son loves the chirping of birds! The floral embelishments also go with the woody theme with a few bursts of red and green. The blank tree embelishment is also a die cut.

I have inserted 2 message tags cut from the scalloped oval die and stamped the message box and written a personal bday note! Hope u all like it...

That's about it and I am quite happy with the way it turned out to be. This layout is entering the lulupu challenge#14 and co-incidently my son too turned 14!
http://lulupu.blogspot.in/2013/07/lulupu-challenge-14-colour-crush.html
Thanks for stopping by.


